A few months ago, I wrote a post that introduced the idea of experimenting with the Archive’s cache of high-resolution digital photography in Photoshop. Experimentation has continued and has provided some interesting results. It’s difficult to label the experiments as successes or failures—the stakes aren’t that high yet. But in the DH/Zen-like spirit of play and working-without-aiming, let’s continue with the fun.
Faded Text
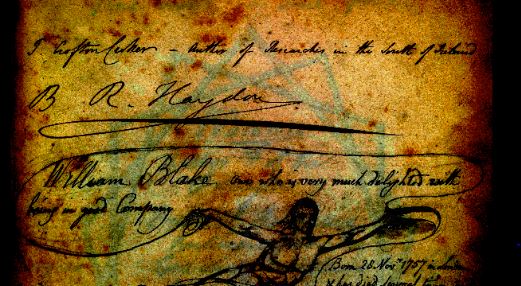
Even while preserved under the best circumstances, manuscripts always start to show their age. With unfinished manuscripts, particularly, much of the revisionary or provisional markup is done in pencil, which doesn’t hold up well over time. This current Photoshop experiment is an attempt to recover some faded text in the effort to make it more legible.
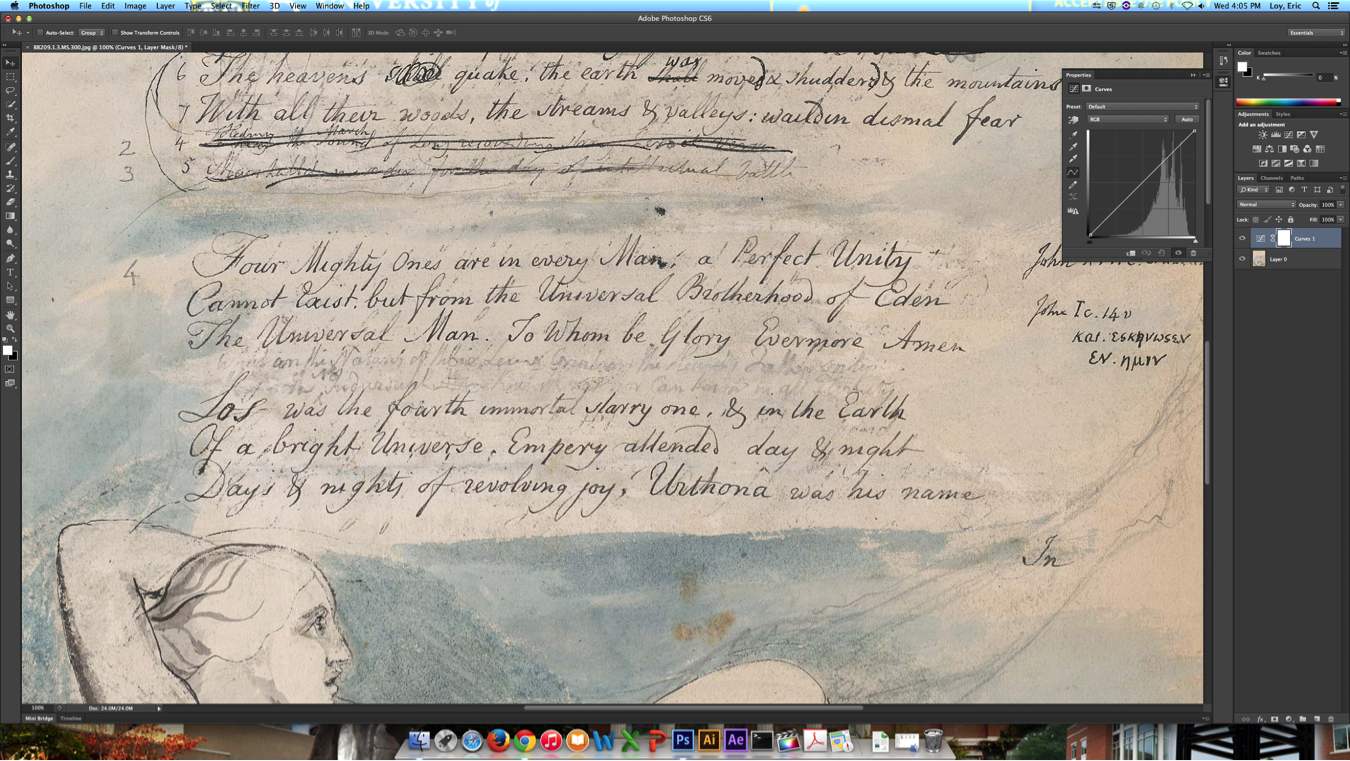
To illustrate the technique, I’ll first use a page from Blake’s Four Zoas that features a pencil drawing and some text below it. In this case, the adjustments are applied across the entire image file. Then I’ll apply the technique to a few lines of faded text from another page in the Four Zoas. In this case, the adjustments are applied to only a selection of the image file.
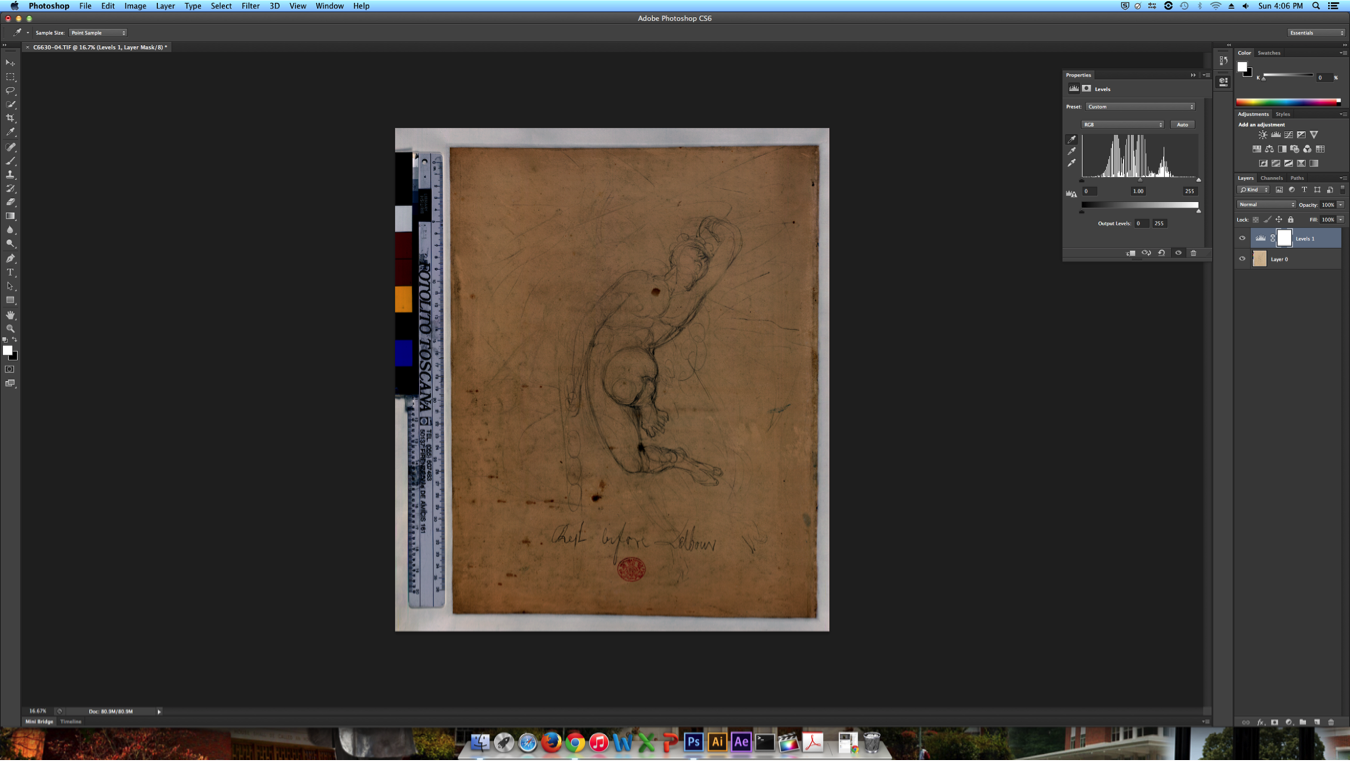
Step 1: With the image in Photoshop, I opened a Levels Adjustment Layer. (Click on images below for full size.)

Step 2: Using the eyedropper tools, I set the blake, white, and gray settings using the color bar on the left side of the file. (This is how normal color correction is done.)

Step 3: Now that we understand how level adjustments are accomplished, let’s play around a bit. Using the eyedropper tool, I set the black level using a pencil mark as a target. In this case, I used a letter at the bottom of the page.
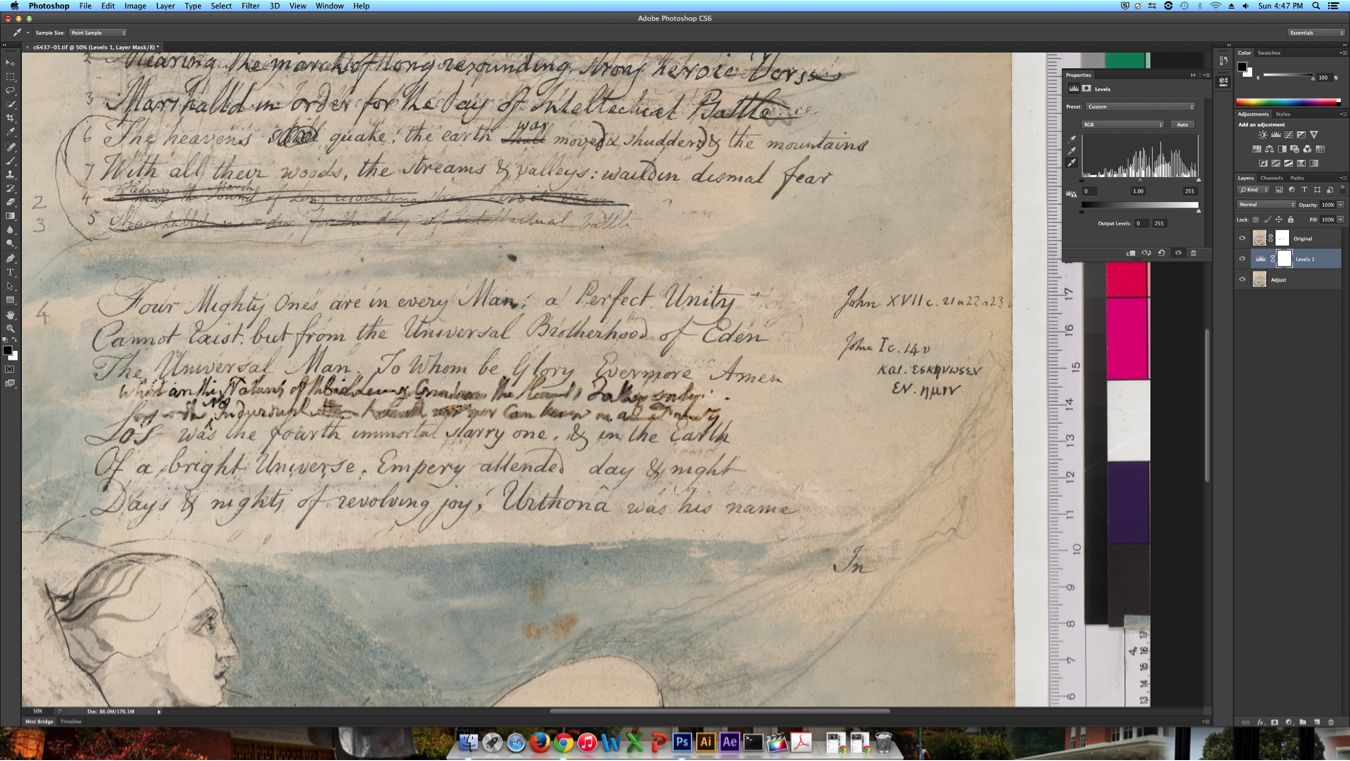
Step 4: Now I set the white level using the eyedropper tool and the color bar. (Looks pretty good, but also not much different from the original file.)
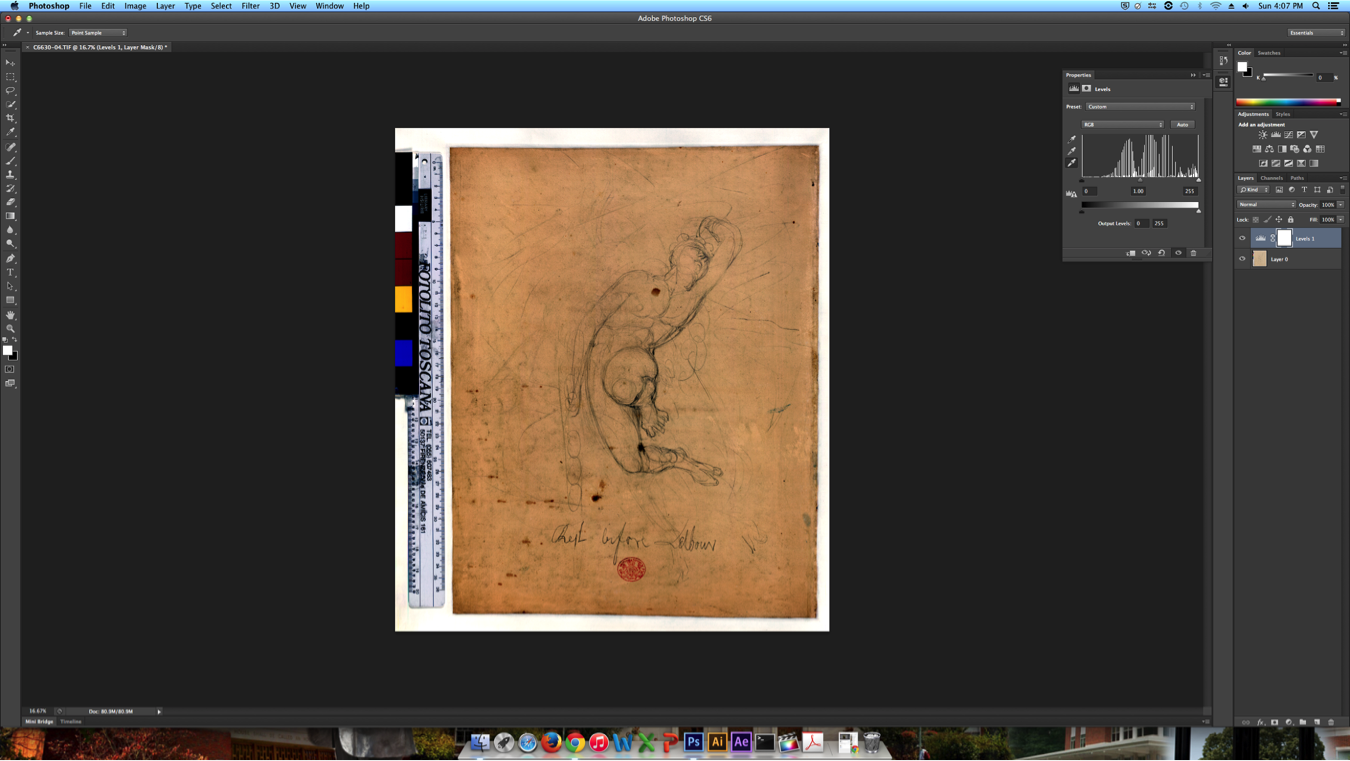
Step 5: I set the white level using the eyedropper tool on a clean section of the manuscript. (In this case, just above and to the left of the drawing.)
Step 6: I set the gray level by using the eyedropper tool on another, lighter pencil mark.

Quick Notes
When we compare the final edited image with the original, certain textual features do become exaggerated and more legible. It’s important to remember that this method is only a modified form of the color correction we already do to every image in the Archive. That means it’s easy to learn, teach, and implement. I also found it easier to control than other adjustment tools in Photoshop like the Curves Tool.
Applying Faded Text Recovery to a Selection
This final part is a simple but powerful modification to the technique described above. Before applying the Levels Adjustments to the image, I created a Layer Mask by painting over the text I wanted to adjust. This means the image file is now two layers, with the bottom layer as the adjustment layer, the top layer as the original image, and the image mask which pokes a hole through the top layer to reveal the bottom layer. The before/after result looks like this:
OK, so what?
I’m hoping that in the future Photoshop techniques like these can help solve problems of transcription. High-res photography and the technical abilities of software like Photoshop offer an opportunity to non-destructively experiment with rare and protected documents. It’s also much cheaper and faster than other options like multispectral imaging.
I also like the idea of offering edited images as appendices or editorial apparatuses to the Archive’s digital editions. Edited images could be used in our existing editorial notes to help explain some of our transcription decisions.
In any event, a great deal of thinking and theorizing is needed to contextualize this kind of work and its place in the editorial process. However, the prospects this kind of work raises are undoubtedly intriguing.
More experiments to come!
—