We’ve blogged quite a bit about our recent work creating an experimental edition of The Four Zoas. That sort of work has been on the encoding/display end of things. And while that work is ongoing, I’ve since become occupied with digital imaging and the potential editorial/archival uses for digital software, like Adobe Photoshop.
When I first sat down to a computer with some of these questions in mind, it took about five minutes to realize I needed full, lossless, high-resolution files to see anything in meaningful detail. I was able to work out a few techniques for recovering faded text (which I will blog about in the future), but some immediate questions our Rochester group had involved compressed files vs. high-resolution. So, dear reader, if you’ll permit me, today I’m going to respond to the group in blog form with some quick explanations and comparative screenshots.
JPEG vs. TIFF
The Blake Archive is, of course, a web-based archive. Accordingly, it must make the usual efficiency decisions that all websites must make in terms of balancing quality with usability (e.g. loading speeds).
For the Archive, images of all edited objects live in two basic version: archived TIFF files and online JPEG files. The Blake Archive’s “Technical Summary” has a great in-depth description about these formats. Simply put, TIFF files are big and raw. JPEGs are compressed and edited.
Users see JPEGs.
You’re Gonna Need More Pixels
For most scenarios of study and use, JPEG quality does the job just fine. But for getting a closer look at damaged manuscripts or tough spots for transcriptions, well, the JPEG simply runs out of data (re: pixels).
This is a tough thing to show with a blog because the screenshots I’m sharing are, ultimately, compressed files themselves. So a bit of detail is lost compared to what one sees working with the “real” files. But the idea should still be clear.
Anyway, let’s look at some pictures.
This first image is a JPEG in Photoshop at 100% zoom:
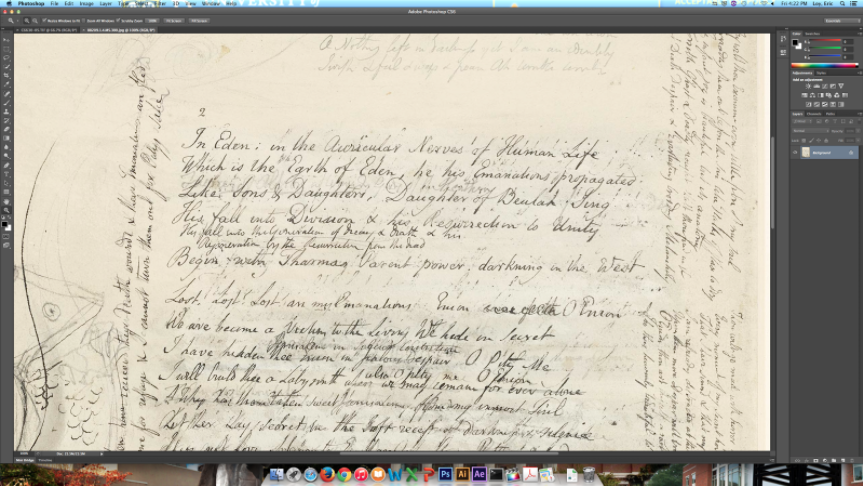
This image is the TIFF version, without color correction, at 100% zoom:
Yes, the TIFF looks “bigger” or more zoomed in. Keep in mind, “zoom” in Photoshop is based on pixel size. Because the TIFF is using many more pixels (high-resolution) to create the same image, the image is ultimately bigger. So Photoshop is telling us that at this particular resolution, you can see this particular level of detail. (And we can see more detail in the bigger file.)
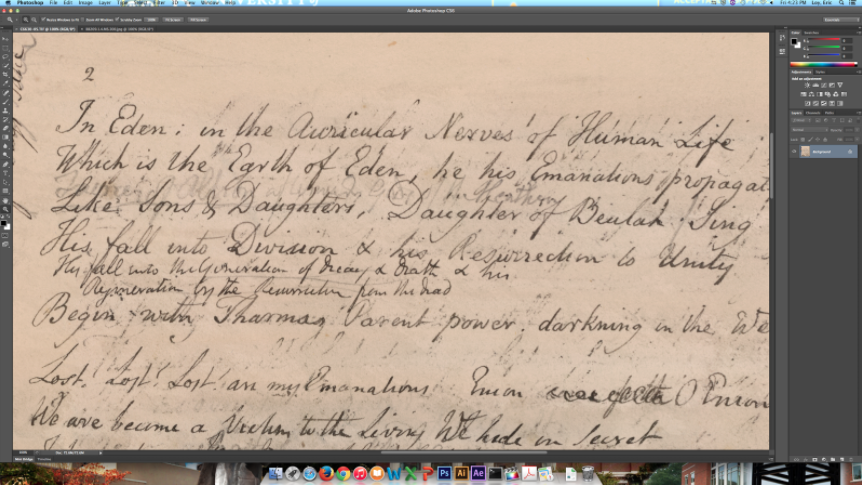
Let’s get closer.
JPEG at 500% zoom:

TIFF at 500% zoom:
As you can see, the JPEG simply runs out of pixels when you want to get in close. At 500% zoom, finer traces of ink become chunky blobs. The TIFF file, of course, is showing the same amount of pixelation at 500%, but we’re getting a much closer look.
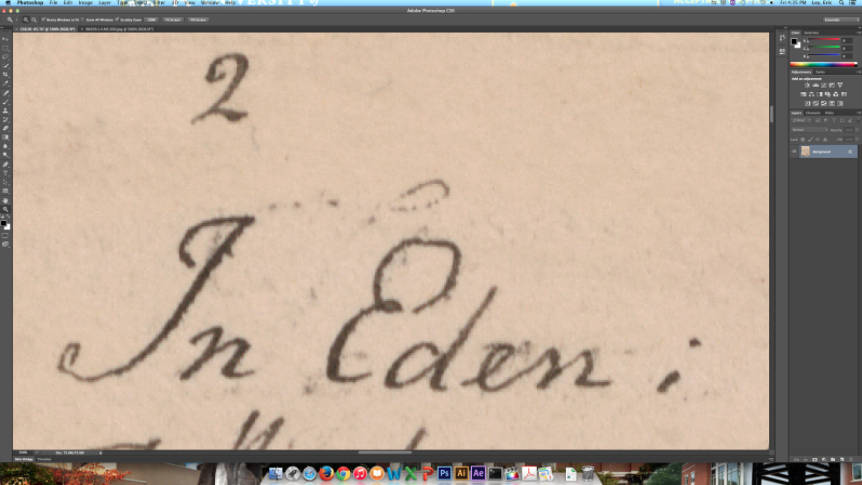
So to really hammer this home, we can mimic the same perspective of the JPEG’s 500% zoom with a TIFF at 300% zoom:
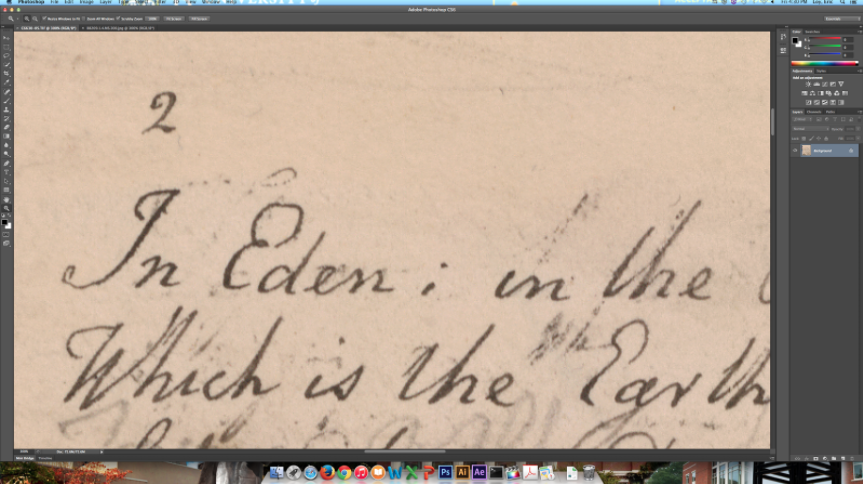
Very clear, lots of detail. Nice.
Keep in mind that the JPEG file is derived from the [original] TIFF file. The way JPEG compression works is that it throws away “redundant” pixels. So what we explored here is the detail level at which you can see compression in action. Cool, huh?
So what?
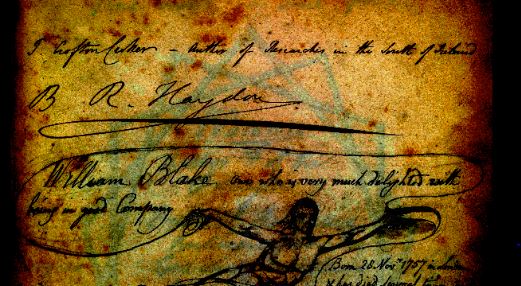
My hope is to demonstrate that high-resolution photography can be very useful for forensic-type work in circumstances of fragile or restricted manuscripts. Something like Four Zoas is usually kept under lock and key, but with good photography, researchers can see (and do) quite a bit.
In the future, I hope to show that digital photography and software also enables an element of useful play and experimentation that would be impossible with the physical texts without obliterating them.
—